
How to Back Up Your Own Social Video Posts Before You Delete Them
Reviewed under the VidMedia.Live Editorial Policy. This guide is for lawful personal, educational, or professional use and does not replace legal advice.
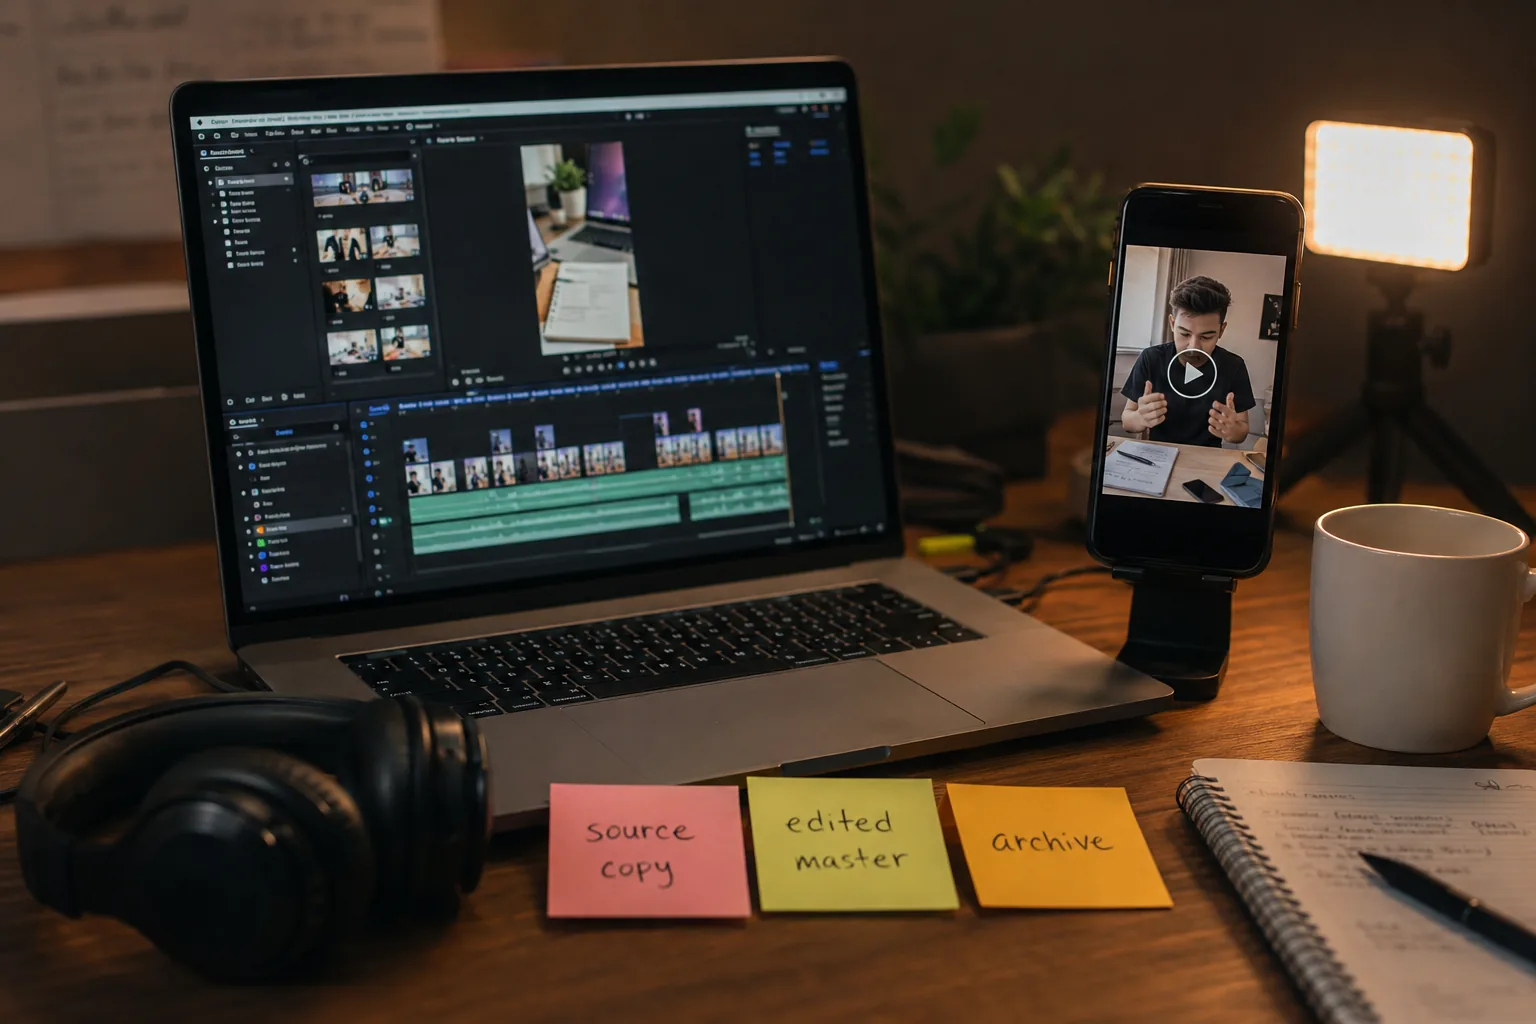
Single-video backup checklist
Use this when you only need to preserve a few of your own uploads instead of exporting a full account archive.
| Before saving | Confirm the post is yours and still visible in your account. |
|---|---|
| File name example | 2026-05-10_family-birthday-social-platform.mp4 |
| Record to keep | Original post URL, upload date, and any privacy notes. |
Why this topic deserves more than a quick download
How to Back Up Your Own Social Video Posts Before You Delete Them is not only a technical task. It is usually a decision about ownership, memory, privacy, and future access. The practical question is simple: can you keep a useful copy of a video without creating legal, privacy, or security problems for yourself later? That question matters because video carries more context than a document or a photo. It can show faces, voices, locations, dates, children, clients, private rooms, copyrighted music, brand claims, and conversations that were never meant to travel beyond their original setting.
This guide focuses on saving personal uploads before deleting, rebranding, or cleaning up an account. It is written for people who have years of personal uploads scattered across social platforms. The goal is not to encourage bulk downloading or careless reposting. The goal is to help you make a clean, defensible decision before you save a file, and then keep that file in a way that remains understandable months or years from now. A useful archive is not just a folder full of MP4 files. It is a small record of what each video is, where it came from, why you kept it, and what you are allowed to do with it. A useful outside reference here is Google Takeout data export instructions.
A typical case looks like this: a parent saving school concert clips before closing an old profile. The person saving the video is trying to preserve something legitimate, but the details still matter. A video that is safe to save for personal reference may not be safe to reupload. A clip that is fine inside a classroom may not belong in a public newsletter. A testimonial approved for one campaign may need fresh permission before it appears in a different ad.
Start with rights, consent, and context
Before thinking about tools, ask who owns the video and who appears in it. If you created the video yourself, the answer may be straightforward, but it is still worth checking whether it includes music, stock footage, client material, or other people’s likenesses. If someone else created the video, public access does not automatically give you permission to download, edit, or redistribute it. If the video was shared privately, treat the privacy setting as part of the message. A private link is often shared for convenience, not as permission to keep a permanent copy.
Consent is especially important when the video shows children, customers, patients, students, employees, event guests, or anyone in a sensitive setting. A cautious approach is to save only what you need, keep it somewhere secure, and avoid forwarding it unless the person who shared it would reasonably expect that use. If you are saving video for a business, school, nonprofit, or community group, keep permission notes next to the file.
Context also has practical value. A video without its caption, source URL, upload date, campaign name, or permission record becomes harder to trust. If the file is ever reused, challenged, or needed as a record, the missing context becomes the problem. The safest habit is to save a small note beside important videos. Include the original post title or caption, the platform, the date you saved it, the reason you saved it, and any usage limits. That takes less than a minute, but it turns a loose download into an archive item.
Use official exports and reputable references first
When a platform provides an account export or creator download option, start there. Official exports are not always elegant. They may be slow, compressed, or hard to browse, but they usually preserve more account context than a single downloaded file. For personal accounts, exports can include captions, upload dates, account activity, thumbnails, and other records that help explain the videos later. For creators and businesses, that extra context can be more valuable than the video file itself. When the details matter, Meta guide to downloading your information gives useful context without relying on hearsay.
Two or three strong references are better than a page stuffed with weak links, and sometimes one well-placed source is enough. External links should help the reader verify a license, understand a platform policy, or follow a recognized safety practice. They should not send readers through spammy download pages, affiliate funnels, or thin reposted advice.
If you use a browser-based tool, use it for content you own, content you have permission to save, or material that is clearly licensed for your intended use. Avoid installing unknown desktop apps or extensions for a one-time task. A legitimate workflow should not require disabling browser protections, granting broad account permissions, or downloading a suspicious installer.
A practical workflow that avoids most mistakes
First, decide the purpose of the saved copy. Personal backup, classroom preparation, client recordkeeping, evidence preservation, and public republication are different use cases. The stricter the use, the more careful your records should be. Personal viewing may require only a lawful copy and a sensible folder name. Business reuse may require a release, license, invoice, campaign note, and approval record.
Second, save the surrounding information while it is still easy to find. Copy the caption, post URL, creator name, license page, date, and any visible permission statement into a plain text file. If the video is yours, record where the original camera file or editing project lives. If the video came from a client, school, or event, record who approved the recording and what the intended audience was.
Third, choose a file name that future you will understand. A good file name starts with a date, followed by a short human description. For example, 2026-05-10-product-demo-final.mp4 is more useful than download-7.mp4. For larger archives, use folders for year, platform, project, or event. Do not rely entirely on search, because search works poorly when every file has a generic name. The structure does not have to be perfect. It only has to be consistent enough that you can find the right file under pressure.
Fourth, protect the file. Keep at least one backup away from the original device. If the video contains private people, client information, children, medical details, legal evidence, or sensitive locations, use encrypted storage and restrict access. Cloud sync can be convenient, but sync is not the same as backup. If you delete a synced file from one device, that deletion may spread to every device. A proper backup gives you a way to restore a file after mistakes, device failure, or account loss.
Common failure points to avoid
The biggest mistake is deleting the account first and discovering that the platform export cannot be requested afterward. Another common failure is separating the video from the permission or license that made the download legitimate. People often save a clip, then months later cannot remember whether it was their own upload, a Creative Commons file, a client-provided asset, or a private link. When that happens, the safest answer is usually not to reuse it publicly. Good records preserve options. Poor records close them.
Quality loss is another quiet problem. Many platforms compress videos after upload, so the version you can retrieve later may be lower quality than the file you originally created. If the video matters, keep the source file or highest-quality export whenever possible. Avoid converting the same file repeatedly. Each lossy export can remove detail, especially in faces, small text, fast motion, and low-light scenes. If you need a smaller sharing copy, make it from the best available source and keep the source untouched.
Quick checklist
- Request the official account export first
- Save priority videos separately
- Rename files with dates and short descriptions
- Keep one local copy and one cloud copy
Final thoughts
A good video-saving habit is calm and boring: confirm your rights, save useful context, name the file clearly, back it up, and avoid risky tools. That process is slower than grabbing the first download link you see, but it produces a collection you can actually trust. Whether you are preserving family memories, creator work, classroom material, business records, or public-domain research, the same principle applies: save only what you have a legitimate reason to save, and keep enough context that the file remains meaningful later.
VidMedia.Live is built around that responsible-use mindset. Use download tools for your own content, for content you have permission to save, or for material whose license allows your intended use. If the answer is unclear, pause and verify first. That habit protects your archive, your audience, and the people whose work or likeness may appear in the video.
Use this workflow responsibly
The safest workflow is narrow: save your own uploads, official exports, public domain material, or media where the rights holder clearly allows saving.
Before
Confirm the content is yours or that you have permission to keep a copy.
During
Use official export tools first when they are available.
After
Rename the file, store the source URL, and avoid reposting other people's work without permission.
About this guide
VidMedia.Live publishes practical media guides for creators, educators, and users who need to save content they own, have permission to use, or can lawfully keep under an open license.